25.3 Adding additional identities
You can use the Manage Additional Identities workflow to add new identities (for example, accounts from other areas of the LDAP directory) and certificates that can then be included on the user's smart card.
If you have specified any additional identities for a user, when you issue a device to that user, new certificates based on the specified policies are requested from the appropriate certificate authority and written to the device.
To select additional identities:
-
From the People category, select Manage Additional Identities
You can also launch this workflow from the View Person screen in the MyID Operator Client; this launches the workflow with the person already selected. See the Managing additional identities section in the MyID Operator Client guide for details.
- Use the Find Person stage to search for the user for whom you want to add additional identities.
-
Click the Additional Identities tab.
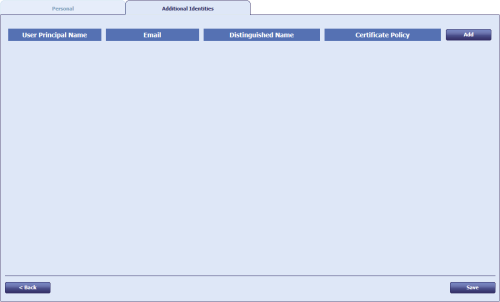
You can select up to ten additional identities for the user.
-
For each additional identity:
-
Click Add.
The available entries in the directory are restricted to the Organizational Unit of the operator and below.
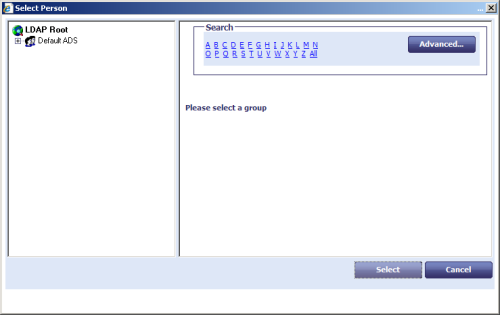
- Use the LDAP browser to select the directory account for the user.
- Select the required branch of the LDAP directory.
-
Select the initial letter of the person, click All to view all the people in the group, or filter the list:
- Click the Advanced button.
-
Type the appropriate characters in the Filter field followed by an asterisk (*).
For example, to find only people with first names starting with Jo, type Jo* in the Filter field.
- Click Search.
- Select the appropriate person.
-
Click Select.
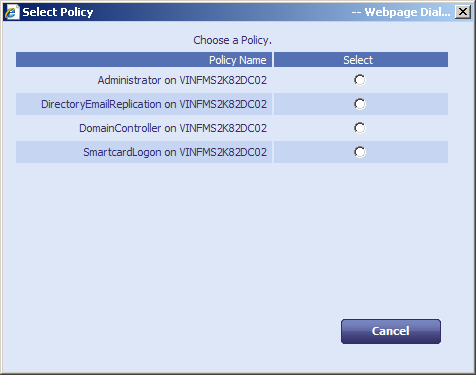
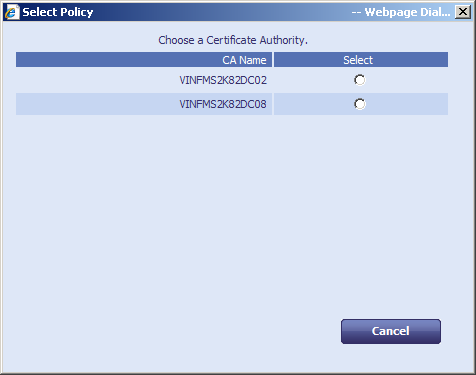
If you have more than one certificate authority set up for additional identity certificate policies, you must select which one to use.
If you have only one certificate authority set up for additional identity certificate policies, MyID proceeds directly to the Select Policy dialog.

- Select the additional identity policy from the CA you want to use, then click OK.
-
- Click Save.